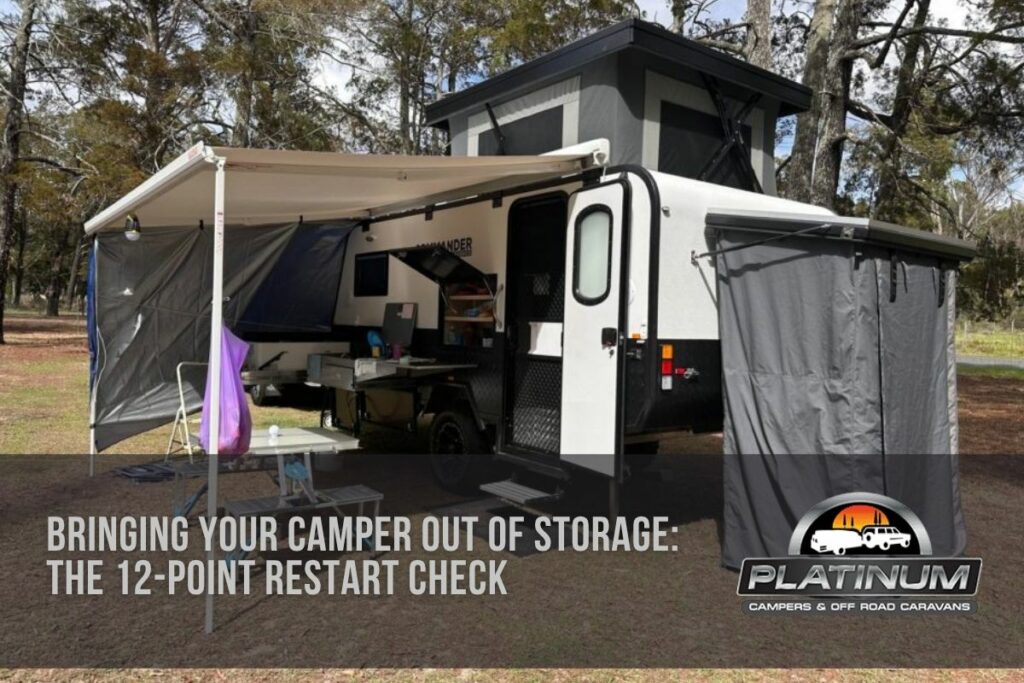
To bring your camper out of storage safely, complete a full restart inspection before you hitch up: check structure, tyres, brakes, hitch, lights, battery, water, gas, canvas, interior systems, undercarriage, then do a short road test. Skipping this step is one of the fastest ways to turn the first trip of the season into a breakdown or a failed safety check.
Australian conditions are hard on stored gear. Heat, humidity, dust, rodents, UV and long periods of sitting still all take a toll on seals, canvas, electrics and wheel ends. Whether your unit is a soft floor, rear fold, forward fold, double fold or hybrid, a structured bringing your camper out of storage checklist gets you road-ready faster and with fewer surprises.
This guide walks you through a practical 12-point restart process designed for Aussie camper trailers, with clear actions you can complete at home or at a storage yard before your first weekend away.
Overview
You will learn how to de-winterise or de-storage your camper trailer in a logical order, what to inspect on each system, when to stop and book a service, and how to pair this deep restart with a faster pre-trip routine. You will also find a scannable checklist table, packing and load tips, and FAQs that answer the most common restart questions.
Key Takeaways
- Use a fixed 12-point order so nothing critical is missed when you bring your camper out of storage.
- Treat tyres, brakes, bearings, hitch and lights as non-negotiable safety items before any tow.
- Recharge and test the 12V system early; flat batteries and corroded terminals are common after storage.
- Flush water lines, check gas connections and inspect canvas or seals before the first overnight.
- Finish with a short shakedown tow close to home, then switch to a quick pre-trip check for every later outing.
- Keep storage and maintenance habits consistent year-round so the next restart is easier.
Why a Restart Check Matters After Storage
Storage protects your investment, but it does not pause wear. Rubber dries, grease settles, moisture finds seams, and small pests look for soft materials and wiring looms. A camper that looked perfect when you parked it can hide soft tyres, seized brakes, a depleted battery or a canvas leak by the time you return.
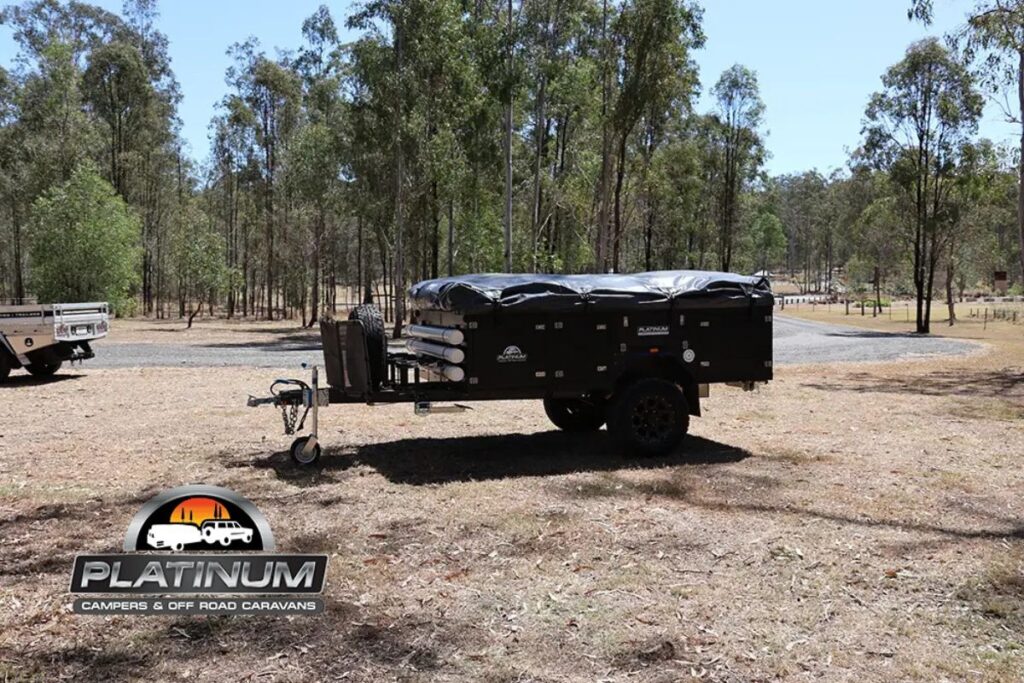
A restart check is deeper than a roadside once-over. It is the bridge between long-term camper storage and trip-ready condition. Do it once at the start of the season (or after any long lay-up), then rely on a shorter routine such as a 10-minute pre-trip inspection before each departure.
If you are still refining how and where you store the trailer between trips, practical layout ideas in creative camper trailer storage ideas can reduce damage risk before the next lay-up.
Bringing Your Camper Out of Storage Checklist: The 12-Point Restart
Work through the points in order. Fix or flag issues as you go. If a safety item fails (tyres, brakes, hitch, lights, gas), do not tow until it is rectified.
1. Full Exterior and Structural Walkaround
Start unhitched, on level ground, with the handbrake on and wheels chocked if needed.
Inspect the chassis rails, A-frame, drawbar, body panels, stone guard, toolboxes and fixings for rust, cracks, loose bolts, impact damage or elongated holes. Check door and hatch seals for compression set, mould or gaps. Look under edges and in corners for mud-wasp nests, rodent entry and chewed wiring.
Confirm jockey wheel operation, clamp tightness and foot condition. Extend and retract stabiliser legs and confirm they lock cleanly. Sticky or bent legs are easier to deal with at home than on soft ground at camp. For ongoing care, see tips for using and maintaining stabiliser legs.
Action list:
- Photograph any damage for insurance or service notes
- Tighten accessible external fasteners to a snug, even feel (do not over-torque unknown hardware)
- Clear nests, webs and debris from vents and cavities
- Confirm the compliance plate and serial details are still legible
2. Tyres, Wheels and Torque
Tyres are the highest-frequency failure point after storage. Sidewalls can crack, pressures drop, and flat spots can appear after months in one position.
Check age and condition of all tyres including the spare. Look for cracking, bulges, uneven wear, embedded objects and damaged valves. Set pressures to the camper manufacturer’s cold recommendation for your load, then recheck after a short tow. Confirm wheel nuts are present and torqued to the correct specification, then re-torque after the first 50–100 km of the season if your service advice requires it.
If the trailer sat on soft ground or soft tyres, inspect rims for corrosion at the bead. Spin each wheel (safely raised and supported) and listen for roughness that may point to bearing issues.
Action list:
- Set and record cold tyre pressures
- Inspect spare and its mounting hardware
- Confirm you carry a working gauge, jack rated for the job and correct wheel brace
- Replace any tyre with serious cracking or unknown history before a long trip
3. Brakes, Bearings and Handbrake
Wheel ends suffer when a camper sits. Grease can settle, moisture can ingress and brake shoes can corrode to drums.
With the trailer safely supported, check bearing play and noise. Service intervals vary by use and water crossings, so if you are due, book a bearing repack before the first big trip rather than after a roadside failure. Confirm electric brake function with a compatible controller, and test the breakaway system according to the unit’s design.
Operate the handbrake and look for cable fray, seizure or excessive travel. Binding brakes after storage are common; a short controlled test in a quiet area helps you feel drag or pull early. For broader service timing guidance, read how often you should service an off-road camper trailer and general maintenance tips.
4. Hitch, Coupling, Chains and Safety Gear
Your coupling is the connection that keeps the combination together. Inspect the hitch head, poly block or equivalent coupling, locking pins, lynch pins, safety chains, shackles and rated attachments on the A-frame.
Confirm the tow vehicle receiver, tongue weight hardware and electrical socket are clean and serviceable. Practise the hook-up sequence before departure day so you are not learning under time pressure. Platinum owners can revisit how to use Platinum Campers hitches and essential hitch safety checks.
Action list:
- Grease points only where the hitch design requires it
- Replace missing lynch pins and worn chain hardware immediately
- Confirm rated shackles, not hardware-store substitutes
- Check handbrake operation again after hitching
5. Lights, Plugs and Trailer Electrics
Plug in the trailer connector and test indicators, brake lights, tail lights, number plate light and any clearance lamps. Wiggle the plug gently while testing to expose intermittent faults. Inspect the loom along the drawbar for chafing, poorly supported cable and corrosion in connectors.
Clean contacts and apply an appropriate electrical protectant if needed. Confirm the Anderson plug path (if fitted) is clean and secure for charging on the move. A dedicated guide on Anderson plugs and 12V setups helps you verify charging behaviour after storage.
6. Battery, Charging and 12V Loads
A stored camper often returns with a flat or sulphated battery, especially if it sat without a maintainer. Start here before you assume a fridge, pump or light has failed.
Measure resting voltage, inspect terminals for corrosion, confirm secure hold-downs and check fuses and main isolators. Charge with a suitable charger matched to your battery type. If you run lithium, follow chemistry-specific charging rules and low-temperature constraints; see lithium batteries for camper trailers, camper battery life and how to charge a camper trailer.
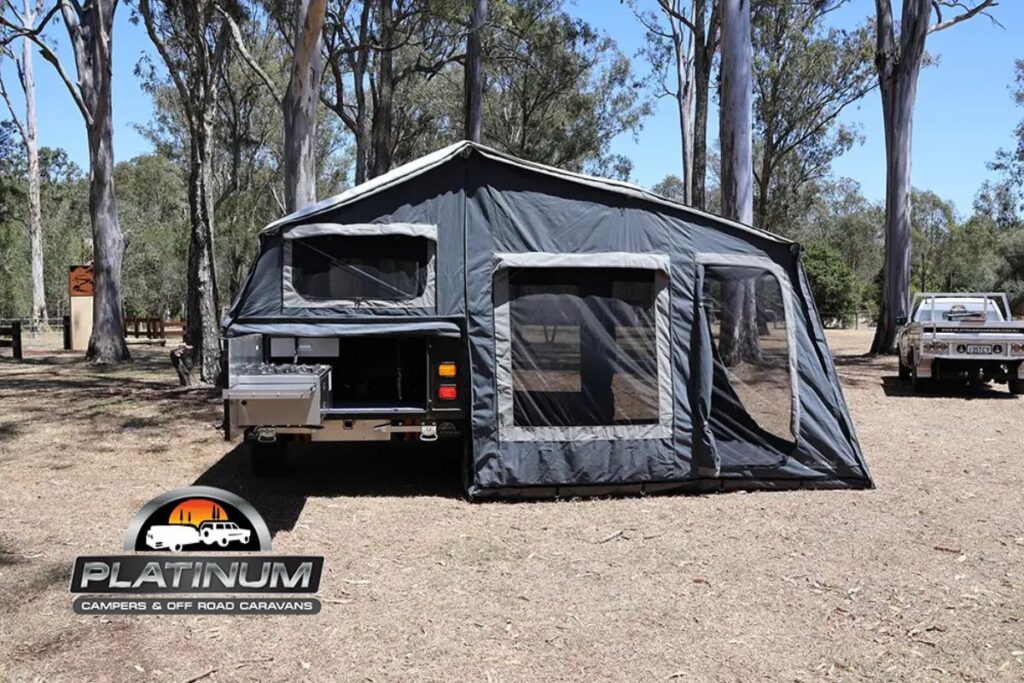
Then test DC loads one circuit at a time: lights, water pump, USB outlets, fridge, fan and any control panel alerts. Investigate unusual drain before the first overnight.
7. Water Tanks, Pump, Hoses and Hot Water (If Fitted)
Drain residues if the system sat full of old water, then flush tanks and lines with clean water. Inspect fillers, breathers, tapware, pump strainer, hose clamps and underbody tank straps. Look for algae, odour, cracked plastic fittings and damp patches that suggest slow leaks.
Sanitise the system if water quality is uncertain, then flush thoroughly again before drinking use. Test the pump prime and check for rapid cycling, which often means air leaks or a failed check valve. If you have an external shower or hot-water unit, confirm cold and hot paths separately and check for soot, insect nests or damage on external combustion appliances before first fire-up (and only operate gas appliances with correct ventilation and safe clearances).
8. Gas Bottles, Hoses, Regulators and Appliances
Gas safety is not a “she’ll be right” item after storage. Inspect bottle condition, dates and valves. Confirm hose condition, regulator mounting and that connections match current Australian fitting requirements for your bottles and appliances.
Pressure-test or leak-check connections using an appropriate method (soapy water on connections is a common field check; bubbles mean stop and rectify). Never use a naked flame to find leaks. Test cooktops and other gas appliances outdoors or with proper ventilation, and verify flame quality. If anything smells wrong, sounds wrong or fails a leak check, shut off and have a licensed gas fitter inspect it.
Store bottles upright and secured once tests are complete. If you need consumables or replacement hardware, browse camper accessories for trip-ready add-ons after the safety basics are sorted.
9. Canvas, Zips, Poles, Seals and Weather Protection
Soft floor and many hybrid or tented setups need a dedicated fabric pass. Open the camper fully in dry conditions. Inspect canvas for mould, pinholes, stretched seams, UV powdering and seam tape failure. Operate every zip, door and window. Check poles, hinges, gas struts, latch alignment and anti-flop fittings.
Clean using methods suited to canvas, then dry fully before the first packed trip so you do not store moisture again. Helpful references include clean camper trailer canvas and long-term canvas maintenance. For emergency field fixes, keep a simple repair approach in mind from emergency canvas tent repairs.
Hard floor owners should still inspect seals, hatch gaskets, window seals and any annex attachments with the same patience.
10. Interior, Kitchen, Bedding and Ventilation
Air the interior thoroughly. Check mattresses and cushions for damp or mould. Wipe cupboards, inspect for rodent damage and confirm pantry seals. Test the fridge on 12V and any other available power mode, clean door seals and confirm it reaches temperature before you pack real food.
Operate the kitchen bench, drawers, latches, sink and tap. Recheck that heavy items have secure mounting points for travel. Confirm smoke and CO alarms if fitted, and replace batteries on any standalone detectors. Good ventilation during the first setup weekend helps you spot odours that point to damp or gas issues early.
11. Suspension, Undercarriage and Fasteners
From a safe position, inspect springs, bushes, shocks, bump stops, U-bolts, trailing arms and all visible underbody fasteners. Look for weeping shocks, cracked spring leaves, rubbed brake lines and exhaust-style heat damage on nearby components where applicable.
Off-road use multiplies vibration, so a post-storage spanner check on critical fasteners is cheap insurance. Pay attention to anything that sits close to rocks and corrugations: protection plates, step supports and tank guards. If you found repeated issues last season, note them now and schedule proper rectification rather than another temporary fix. A refresher on common camper trailer issues in Australia can help you prioritise.
12. Load Plan, Documents and Shakedown Tow
Only after systems pass should you pack for the first trip. Rebuild your load with weight distribution in mind: heavy items low and forward within the camper’s design intent, recovery gear accessible, and no loose projectiles in drawers. Revisit how to ensure your camper trailer is load secure and confirm your tow vehicle remains a safe match using how to match your camper trailer to your tow vehicle.
Check registration, insurance and roadside assist details before you roll. If cover lapsed during storage, sort it before the shakedown; insure your camper trailer before your next road trip is a useful prompt.
Complete a short local tow: lights under load, brakes at low speed, unusual smells, sway, noises and temperature at the hubs after a brief run (carefully and without touching hot components bare-handed). Fix issues now, while you are close to tools and parts.
Quick Reference: 12-Point Restart Table
| Point | System | Pass criteria (simple) | Stop-tow if failed? |
| 1 | Exterior / structure | No critical cracks, secure legs, clear debris | Yes, if chassis/drawbar damage is structural |
| 2 | Tyres / wheels | Sound rubber, correct pressure, nuts torqued | Yes |
| 3 | Brakes / bearings | Effective brakes, no alarming play/noise | Yes |
| 4 | Hitch / chains | Locks correctly, rated chains and pins present | Yes |
| 5 | Lights / plugs | All lamps work, plug secure | Yes |
| 6 | Battery / 12V | Charged battery, key loads function | Trip-dependent; yes for brake power needs |
| 7 | Water system | No major leaks, pump primes, tanks secure | No for tow safety; yes for remote water reliance |
| 8 | Gas system | No leaks, appliances fire safely | Yes if leak or unsafe appliance |
| 9 | Canvas / seals | Serviceable shelter, zips work, dry fabric | Trip-dependent |
| 10 | Interior / kitchen | Secure stowage, fridge cools, no pest damage | Trip-dependent |
| 11 | Suspension / underbody | No broken major components, critical bolts OK | Yes if suspension/brake line compromised |
| 12 | Load / shakedown | Balanced load, documents OK, test tow clean | Yes until faults cleared |
How Long the Restart Should Take
For a well-stored camper in good condition, a thorough restart often fits into a half day, including charging time and a short test tow. If bearings need service, canvas needs drying after cleaning, or a battery needs replacement, plan a full day or a weekend so you are not rushing before a long interstate run.
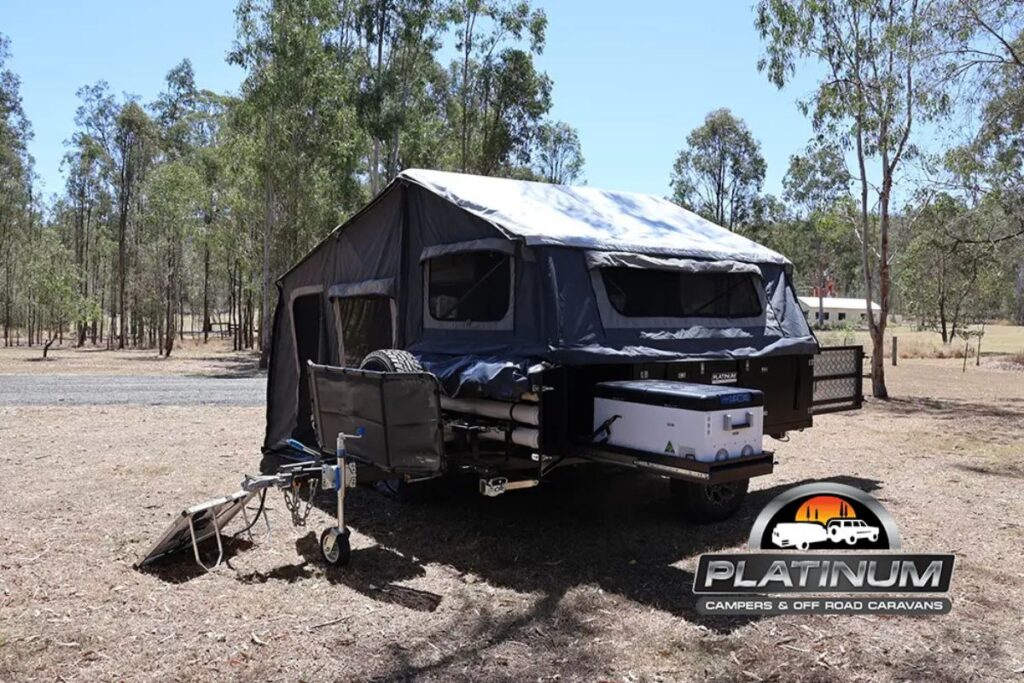
Build a simple kit for restart day: torque wrench or accurate wheel brace, tyre gauge, multimeter, soapy water for gas connection checks, basic hand tools, dielectric grease, spare fuses, lubricant suitable for zips and hinges, gloves and a notepad. Working methodically beats working quickly.
After the Restart: Switch to a Lighter Pre-Trip Routine
The 12-point process is for coming out of storage or returning after a long lay-up. For regular weekends, compress your routine to high-risk items: tyres, lights, hitch security, chains, brake controller, loose loads and a quick leak glance. That is where a repeatable before-every-trip check saves time without cutting safety.
If you are planning destinations after the shakedown, keep the first outing modest. A nearby weekend is a better proving ground than a remote cape run with an untested fridge and unproven bearings.
Storage Habits That Make the Next Restart Easier
Restart pain is often decided on the day you packed the camper away. Store clean and dry, relieve unnecessary load on canvas where the design allows, keep the battery on an appropriate maintainer, and avoid leaving the handbrake clamped hard for months if your component design allows an alternative chocking method. Rodent deterrence, airflow and UV cover matter in Australian sheds and outdoor bays alike.
When you want a structured approach to where and how the trailer sits between adventures, return to camper storage guidance and keep a dated log of bearing services, battery age and tyre weeks of manufacture.
When to Call a Professional
Book a qualified technician if you find structural cracks, brake failure, severe bearing noise, gas leaks, major electrical faults, or suspension damage. Licensed gas and electrical work should stay with licensed trades. A pre-season service is especially smart for high-kilometre off-road campers, beach-tow units and family trailers that carry full water and recovery loads.
If you are comparing setups while you service the one you own, explore the broader camper trailers range or speak with the team via contact us about accessories, spare parts pathways and model questions.
Frequently Asked Questions
What is the first thing to do when I bring my camper out of storage?
Start with a chocked, level walkaround of structure, tyres and hitch area, then put the battery on charge while you continue other checks. Early charging saves time, and early safety inspection stops you packing a camper that should not be towed yet.
How do I use a bringing your camper out of storage checklist effectively?
Print or save the 12 points and tick them in order without skipping safety items. Write down faults, fix red-flag issues before packing food and soft gear, then clear the list with a short local shakedown tow before any long trip.
How often should I run a full restart check?
Run the full restart after any long storage period, after wet-season lay-up, and at the start of your main travel season. Use a shorter lights-tyres-hitch-load check before every subsequent trip.
Can I tow immediately after the camper leaves storage?
Only after safety systems pass: tyres, wheels, brakes, hitch, chains and lights. Even then, a short local test tow is smarter than launching straight into a multi-hour highway run.
What tyre pressure should I set after storage?
Set cold pressures to the camper manufacturer’s specification for your expected load, then recheck when cold again after the first trip. Do not rely on old figures written on a faded note without confirming the source.
Why is my camper battery flat after storage?
Parasitic drain, heat, age and sitting without a maintainer all deplete batteries. Test voltage, charge correctly for the battery type, check for faulty loads, and replace batteries that will not hold a healthy charge.
Should I leave water in the tanks during storage?
Long-term storage is usually better with tanks drained and systems dried to reduce algae, odour and freeze or heat-related stress on fittings. Flush and sanitise as needed when you bring the camper back into service.
How do I check for gas leaks after storage?
With bottles on and appliances off, check connections with a suitable leak-detection method such as soapy water and look for bubbles. If you detect a leak, shut off the supply and have a licensed gas fitter rectify before use.
What canvas problems appear most after storage?
Mould from packing damp, stiff zips, UV degradation and seam stress are common. Open and dry the tent fully, clean correctly, and repair small issues before they become torn panels on a windy night.
Do soft floor and hard floor campers need different restart steps?
Core safety checks are the same. Soft floor and tented hybrids need extra time on canvas, poles and zips, while hard floor units need careful seal, hatch and hinge inspection. Both need the same wheel-end, hitch and electrical discipline.
Is insurance still valid if the camper was stored for months?
Policies differ. Confirm your camper is covered for storage and for on-road use before the shakedown tow, and update details if the place of storage or agreed value changed.
Conclusion: Restart Once, Then Adventure Often
When you bring your camper out of storage, a disciplined 12-point restart protects your family, your tow vehicle and your weekend plans. Work from the outside in, prove the safety systems, restore water and gas carefully, verify shelter and 12V comfort, then prove the setup on a short shakedown tow.
Complete the checklist once with care. After that, keep the camper trip-ready with brief pre-departure checks and sensible storage habits between adventures.
Ready for the first trip of the season? Explore Platinum Campers trailers, gear up from accessories, or contact the team if you want help getting your setup sorted before you hitch up.